Introduction
Perfectly tender chicken is a dream for every home cook, isn’t it? Whether you’re crafting an elegant dinner or whipping up a casual family meal, achieving that melt-in-your-mouth texture can elevate your dish. In this comprehensive guide, we’ll explore everything from selecting the right chicken cuts to cooking and slicing techniques. You’ll also discover clever tips and tricks for ensuring tender chicken every time. Let’s dive right in!
Understanding Chicken Tenderness
Introduction to Chicken Tenderness
Tenderness in chicken isn’t just about luck; it’s a result of understanding what makes the meat soft and juicy. Various factors such as the cut, cooking methods, and preparation techniques significantly impact the final texture. Knowing these elements is the first step to mastering tender chicken.
Factors Affecting Chicken Tenderness
Meat Grain and Muscle Fibers
Did you know that the direction of the meat grain influences tenderness? Chicken consists of muscle fibers arranged in specific patterns. Cooking against the grain shortens these fibers, resulting in a softer bite.
Connective Tissue Content
Chicken pieces with less connective tissue, such as breast meat, tend to be naturally tender. However, tougher cuts, like thighs, can be just as tender when cooked properly. Breaking down connective tissue during cooking is essential for achieving that perfect texture.
Fat Distribution and Marbling
While chicken doesn’t have as much marbling as red meat, its fat distribution plays a key role. Even small amounts of fat can keep the meat moist, especially when combined with the right cooking method.
Transitioning into the subsequent portion, we’ll explore the best pre-cooking techniques that can transform chicken pieces into tender perfection.
Pre-Cooking Techniques to Tenderize Chicken
Selecting the Right Cut of Chicken
The journey to tender chicken begins with the right cut. Different cuts require distinct preparation techniques. For instance:
- Chicken breasts are lean and prone to drying out but can be tenderized with marinades or brining.
- Chicken thighs are more forgiving and naturally tender, thanks to higher fat content.
- Drumsticks and wings benefit from slow cooking to break down connective tissue.
When selecting chicken, look for fresh, moist meat with a pinkish hue. Avoid pieces with discoloration or a strong odor, as these can indicate poor quality.
Mechanical Tenderization Methods
Pounding with a Meat Mallet
Using a meat mallet is an easy way to tenderize chicken. Lay the chicken piece between two pieces of parchment paper or plastic wrap, then gently pound it to an even thickness. This step not only tenderizes the meat but also ensures uniform cooking.
Using a Blade Tenderizer
For tougher cuts, a blade tenderizer pierces the meat with tiny blades, breaking down connective tissue and allowing marinades to penetrate deeply. It’s especially effective for cuts like chicken thighs or drumsticks.
Marinating for Enhanced Tenderness
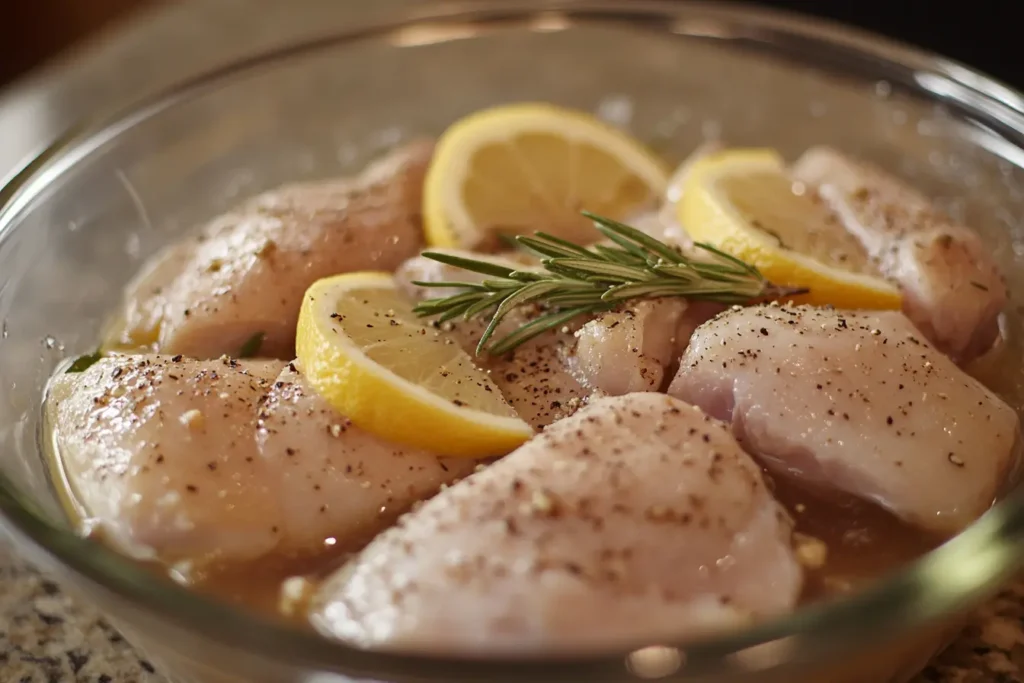
Marinades are a powerhouse when it comes to tenderizing chicken. A good marinade combines acids, enzymes, and oils to break down proteins while locking in flavor.
Recipe for a Perfect Tenderizing Marinade

Ingredients:
- 2 lbs chicken pieces (breasts, thighs, or drumsticks)
- 1/4 cup lemon juice (acidic component)
- 1/4 cup olive oil
- 2 tablespoons soy sauce
- 2 tablespoons honey
- 2 garlic cloves (minced)
- 1 teaspoon paprika
- 1/2 teaspoon salt
- 1/2 teaspoon pepper
Step-by-Step Instructions:
- Combine Ingredients: In a bowl, whisk together lemon juice, olive oil, soy sauce, honey, garlic, paprika, salt, and pepper.
- Prepare Chicken: Place chicken pieces in a resealable plastic bag or a glass container.
- Pour Marinade: Cover the chicken with the marinade, ensuring all pieces are coated evenly.
- Refrigerate: Seal the bag or container and refrigerate for at least 2 hours or overnight for maximum tenderness.
- Cook: Remove the chicken from the marinade and cook using your preferred method (grilling, baking, or frying).
Brining Techniques
Wet Brining
Wet brining involves soaking chicken in a saltwater solution. This method adds moisture and enhances flavor.
Ingredients for Wet Brine:
- 4 cups water
- 1/4 cup kosher salt
- 2 tablespoons sugar
- Optional: garlic cloves, bay leaves, peppercorns
Steps:
- Dissolve salt and sugar in water.
- Add optional seasonings for flavor.
- Submerge chicken pieces and refrigerate for 1–4 hours.
Dry Brining
Dry brining skips the water and uses salt directly on the chicken. This method draws out and reabsorbs moisture, creating a crispy exterior when cooked.
- Sprinkle salt generously over the chicken.
- Let it rest in the fridge, uncovered, for 1–2 hours.
- Rinse and pat dry before cooking.

Nutritional Content
Below is the nutritional content per 100g of tenderized chicken (marinated and brined):
| Nutrient | Amount |
|---|---|
| Calories | 165 kcal |
| Protein | 31g |
| Fat | 3.6g |
| Sodium | 800mg |
| Carbohydrates | 0g |
Advancing to the next topic, we’ll uncover the most effective cooking methods to maintain tenderness and flavor in your chicken dishes.
Cooking Methods to Ensure Tenderness
Low and Slow Cooking Methods
Low and slow cooking is a foolproof way to tenderize tougher chicken cuts. By cooking at a gentle temperature over an extended period, the connective tissues break down, resulting in juicy and tender meat.
Braising
Braising combines dry and moist heat to transform even the toughest cuts into tender delights.
Steps for Braising Chicken:
- Sear the Chicken: Heat oil in a heavy-bottomed pot and sear chicken pieces until golden brown.
- Add Liquid: Pour in a flavorful liquid, such as chicken stock or tomato-based sauce, to cover the chicken halfway.
- Simmer Gently: Cover the pot and let the chicken cook on low heat for 45 minutes to an hour.
- Finish with Seasoning: Adjust seasonings before serving for an extra burst of flavor.
Slow Cooking
Slow cookers are a convenient tool for ensuring tender chicken with minimal effort.
Steps for Slow Cooking:
- Place chicken pieces in the slow cooker.
- Add vegetables, herbs, and a liquid base (e.g., broth or water).
- Cook on low for 6–8 hours or high for 3–4 hours.
- Use tongs to remove the chicken gently; it will be so tender it may fall apart!

Moist-Heat Cooking Techniques
Poaching
Poaching is ideal for lean cuts like chicken breasts, which can dry out with aggressive heat.
Steps for Perfect Poached Chicken:
- Prepare the Liquid: Heat water or chicken broth in a saucepan. Add aromatics like garlic, onion, and bay leaves.
- Submerge the Chicken: Gently place chicken pieces into the liquid.
- Cook Slowly: Maintain a simmer (not a boil) for about 15–20 minutes, or until the chicken is cooked through.
- Rest and Serve: Allow the chicken to rest in the broth for a few minutes before slicing.
Steaming
Steaming locks in moisture while preserving the chicken’s natural flavor.
Steps for Steaming Chicken:
- Fill a pot with a couple of inches of water and bring to a simmer.
- Place chicken on a steamer basket over the pot.
- Cover and steam for 15–20 minutes.
- Season lightly and serve with your favorite sauce or sides.
Searing and Finishing in the Oven
This technique combines a flavorful crust from searing with the even cooking of the oven.
Steps for Searing and Oven Finishing:
- Sear the Chicken: Heat a skillet with oil and sear chicken until golden brown on both sides.
- Transfer to Oven: Place the skillet in a preheated oven at 375°F (190°C) and bake for 10–15 minutes.
- Check Temperature: Ensure the internal temperature reaches 165°F (74°C) for safe consumption.
Sous Vide Cooking for Precision
Sous vide is a game-changer for chicken tenderness. By cooking in a temperature-controlled water bath, you achieve consistent results.
Steps for Sous Vide Chicken:
- Season chicken with salt, pepper, and herbs.
- Seal the chicken in a vacuum-sealed bag or a zip-top bag using the water displacement method.
- Cook in a water bath at 145°F (63°C) for 1–2 hours.
- Sear quickly in a hot skillet for a golden crust before serving.
Transitioning to the subsequent portion, let’s delve into the post-cooking practices that make all the difference in maintaining chicken tenderness.
Post-Cooking Practices
Resting the Meat
Resting is a crucial yet often overlooked step in achieving tender chicken. After cooking, allowing the meat to rest ensures the juices redistribute throughout the chicken, keeping it moist and flavorful.
How to Rest Chicken Properly:
- Remove from Heat: Transfer the chicken to a clean plate or cutting board.
- Cover Loosely: Tent the chicken with aluminum foil to retain warmth.
- Rest Time: Let the chicken rest for 5–10 minutes, depending on the cut. Larger pieces like whole chicken may require up to 15 minutes.
Skipping this step could result in dry, tough chicken, as the juices escape when sliced too soon.
Proper Slicing Techniques
Slicing Against the Grain
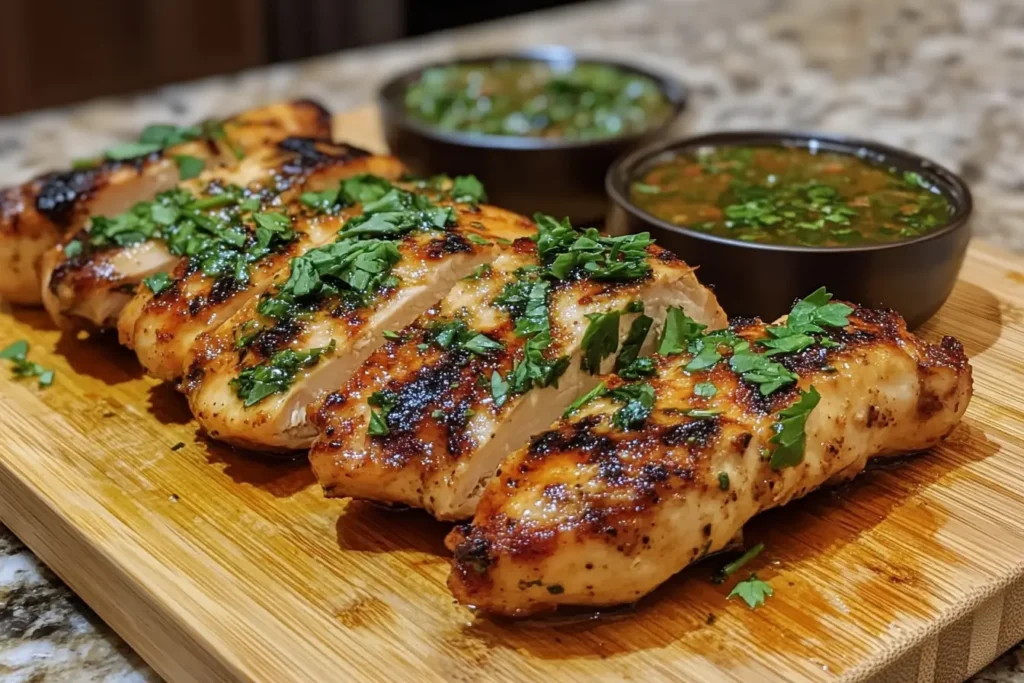
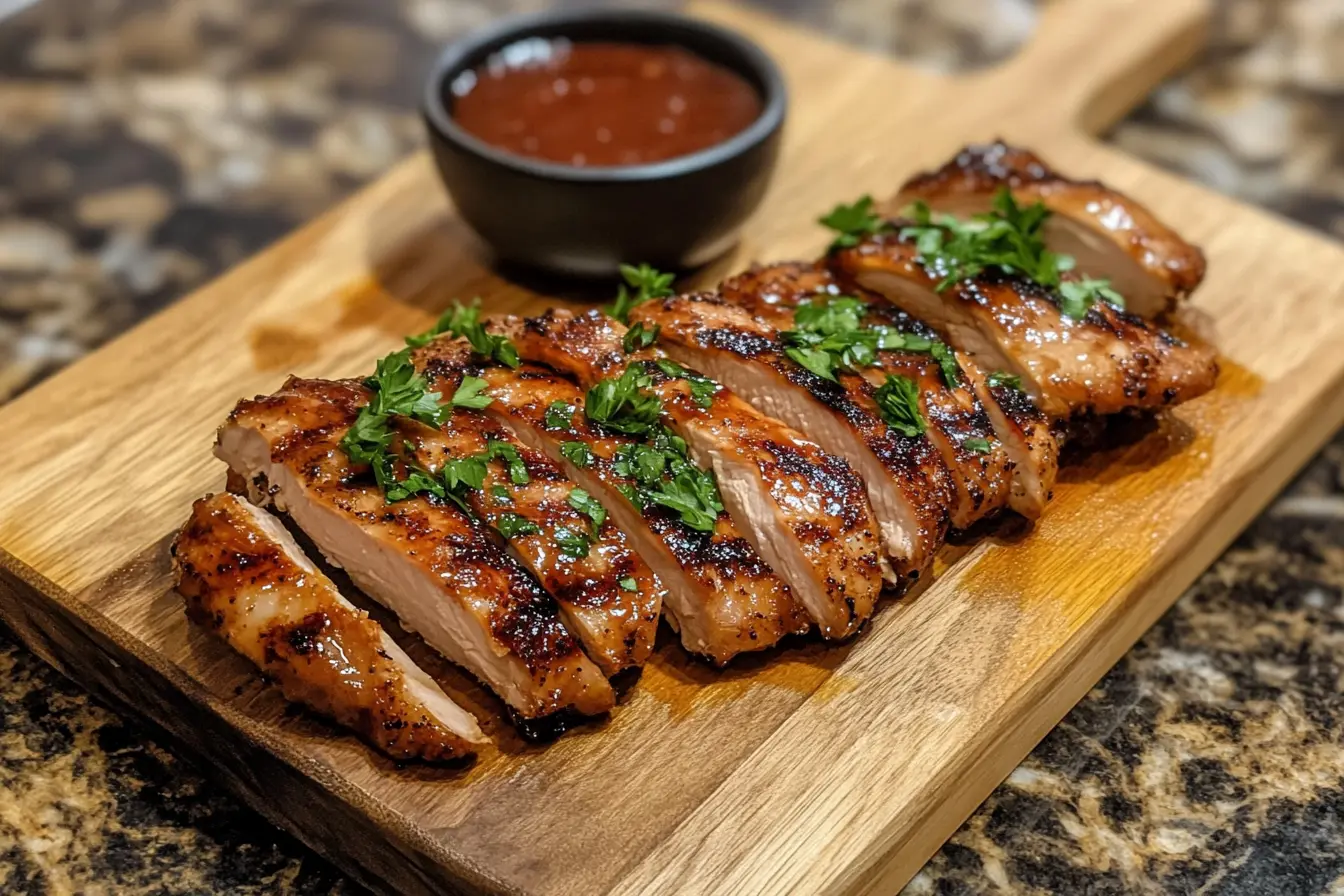
To ensure each bite is tender, slicing chicken against the grain is essential. The grain refers to the direction in which muscle fibers run. Cutting perpendicular to these fibers shortens them, making the chicken easier to chew.
Steps for Slicing Against the Grain:
- Identify the direction of the muscle fibers (visible lines running through the meat).
- Use a sharp knife to cut across these fibers at a 90-degree angle.
Maintaining Consistent Slice Thickness
Even slices not only look appealing but also ensure uniform texture and cooking. Aim for slices that are about 1/4 to 1/2 inch thick, depending on the dish. Consistency is key to balancing flavor and tenderness.
Advancing to the next topic, we’ll explore additional tips and considerations to make your chicken even more tender, including common mistakes to avoid and the best tools for tenderizing meat.
Additional Tips and Considerations
Utilizing Meat Tenderizers and Enzymes
When aiming for ultra-tender chicken, meat tenderizers and natural enzymes can work wonders. These methods break down proteins in the chicken, making it incredibly soft and succulent.
Using Commercial Meat Tenderizers:
- Look for tenderizers with papain (from papaya) or bromelain (from pineapple) as active ingredients.
- Sprinkle the powder lightly over the chicken and rub it in before marinating or cooking.
- Avoid over-tenderizing, as it can make the chicken mushy.
Natural Enzyme Options:
- Fresh pineapple juice: Its bromelain content makes it an excellent tenderizer.
- Papaya paste: Blend ripe papaya and apply as a coating for the chicken.
- Yogurt: Contains mild acids and enzymes that tenderize while adding creaminess to marinades.
Common Mistakes to Avoid
Tenderizing chicken requires precision and care. Missteps can easily turn a juicy dish into a chewy disaster.
Mistakes to Steer Clear Of:
- Skipping the Rest Period: Cutting into chicken immediately after cooking leads to dry, unevenly textured meat.
- Over-Marinating: Acidic marinades are effective but can turn chicken mushy if left too long (2–6 hours is ideal).
- Cooking at High Heat for Too Long: Rapid cooking dries out the meat. Stick to low and slow methods for best results.
- Using Cold Chicken: Always bring chicken to room temperature before cooking to ensure even heat distribution.
Frequently Asked Questions (FAQs)
How to mash raw chicken?
To mash raw chicken, cut the chicken into small chunks and use a food processor or blender. Pulse the machine until the chicken reaches the desired consistency. Alternatively, you can use a meat grinder for a more even texture. Be sure to handle raw chicken safely to avoid cross-contamination.
How to cook chicken like a chef?
Cooking chicken like a chef involves selecting high-quality ingredients, using precise techniques, and paying attention to flavor. Start by seasoning the chicken with salt and pepper, then use cooking methods like searing, baking, or grilling. Always cook the chicken to an internal temperature of 165°F (74°C) and finish with a sauce, glaze, or fresh herbs for a professional touch.
How to cook a chicken Gordon Ramsay style?
Gordon Ramsay’s chicken recipes often emphasize flavor and texture. A classic method includes:
- Seasoning the chicken generously with salt, pepper, and olive oil.
- Searing the chicken in a hot pan for a golden crust.
- Adding garlic, thyme, and butter while basting the chicken during cooking.
- Finishing in a preheated oven until cooked through and juicy.
Does oat flour rise with yeast?
Oat flour lacks the gluten needed to trap air and create structure, so it doesn’t rise as effectively with yeast as wheat flour does. However, it can still be used in recipes by combining it with other flours like all-purpose or bread flour, which contain gluten.
What is the best way to cook diced chicken?
The best way to cook diced chicken is to stir-fry it over medium-high heat in a non-stick or cast-iron pan. Heat oil, add the chicken, and cook until golden brown on all sides, ensuring an internal temperature of 165°F (74°C). This method is quick and retains moisture, making the chicken tender and flavorful.
Is diced chicken healthy?
Yes, diced chicken is healthy when prepared with minimal oil and seasoning. It’s a lean source of protein, low in fat, and versatile for use in stir-fries, salads, or wraps. Opt for skinless cuts to reduce calorie and fat content.
Is lentil bread high in carbs?
Lentil bread typically contains fewer carbs compared to traditional wheat bread. However, it depends on the recipe. Lentils are rich in complex carbohydrates and fiber, which contribute to a lower glycemic index, making lentil bread a healthier choice for many.

