Introduction
Milk bread is one of the most popular and versatile bread types, celebrated for its pillowy texture and subtle sweetness. But what if you want to enhance this classic with a vibrant flavor like ube? Ube extract, derived from purple yams, is not only visually stunning with its rich violet hue but also delivers a unique, sweet, and nutty flavor that’s a hit in many desserts.
The short answer is yes—you can absolutely add ube extract to a milk bread recipe! To guide you step-by-step, this article will show you how to incorporate ube extract effectively. Furthermore, it explains what adjustments you should make to perfect the recipe and how this exciting combination can elevate your baking game to new heights. Moreover, by following these tips, you’ll create a stunning and delicious loaf that everyone will love.
Why Add Ube Extract to Milk Bread?
Combining ube extract with milk bread not only adds a flavorful twist to a classic recipe but also enhances its appeal in multiple ways. For instance, this combination creates an exciting fusion of traditional and modern flavors. Additionally, it introduces vibrant aesthetics and a delightful taste that make your bread truly stand out. Here are some compelling reasons why adding ube extract to milk bread is such a fantastic idea:
- Aesthetic Appeal: The bright purple color makes your bread visually striking.
- Unique Flavor: Ube adds a mild, sweet, nutty flavor that pairs perfectly with milk bread’s soft sweetness.
- Cultural Fusion: Ube is a staple in Filipino cuisine and adding it to milk bread marries traditional Asian flavors with Western baking techniques.
This combination isn’t just a novelty—it creates a perfect blend of taste, color, and cultural storytelling.
How to Incorporate Ube Extract Into Milk Bread
When adding ube extract to a milk bread recipe, there are a few important factors to consider:
1. Adjust the Liquid Ingredients
Ube extract is a concentrated liquid. Adding it directly can increase the dough’s hydration, which may affect the texture of your bread. To balance this:
- Reduce the liquid (milk or water) in your recipe by about 1 tablespoon for every tablespoon of ube extract added.
2. Determine the Right Amount of Ube Extract
The amount of ube extract you use depends on how intense you want the flavor and color. A typical starting point is:
- 1-2 teaspoons for a subtle flavor and light color.
- 1-2 tablespoons for a stronger flavor and vibrant hue.
Pro Tip: Always taste-test your dough before proofing to ensure the flavor is to your liking.
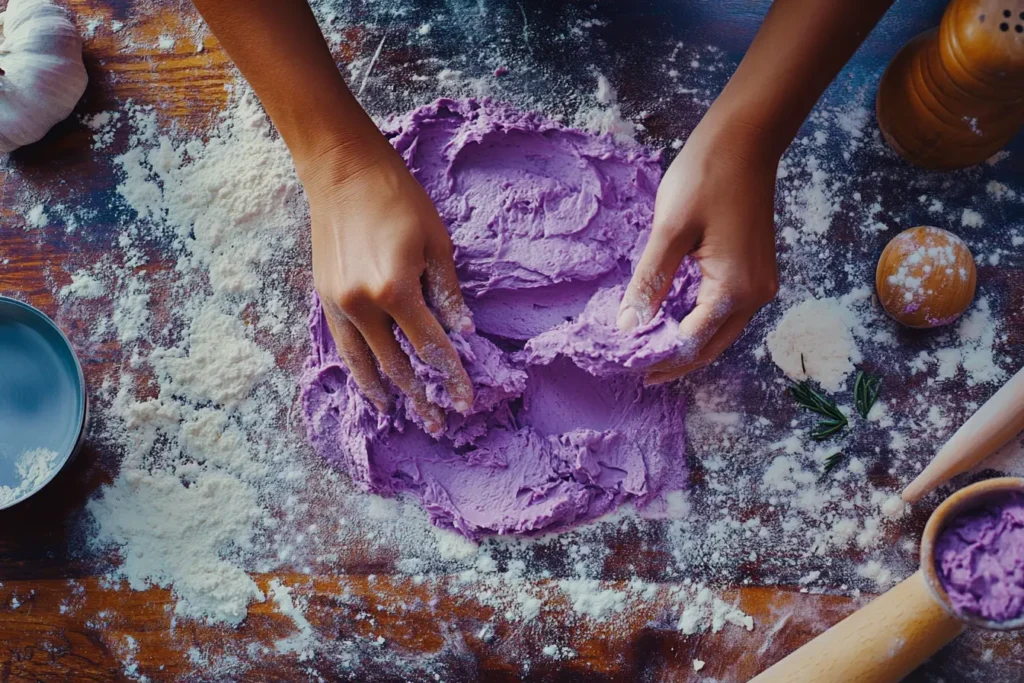
3. Mixing It Into the Dough
For an even distribution of the ube extract:
- Add the extract while mixing the wet ingredients (milk, eggs, butter) before incorporating the flour.
- Ensure that the color and flavor are uniform by thoroughly kneading the dough.
Adjustments to Baking Times or Temperatures
Adding ube extract does not typically alter the baking time or temperature. Milk bread recipes bake at around 350°F (175°C) for 25-30 minutes, and this holds true even when you add ube extract. However, because the purple color can make it harder to determine doneness visually:
- Use a thermometer to check if the internal temperature has reached 190°F (88°C).
Enhancing Flavor with Complementary Ingredients

To make your ube milk bread even more special, consider pairing it with these complementary flavors:
- Coconut Milk: Swap regular milk with coconut milk for a tropical twist.
- Cheese: Add a filling of grated cheddar or cream cheese for a savory contrast.
- Vanilla: A touch of vanilla extract enhances the sweetness of the ube.
Common Mistakes to Avoid
- Overpowering the Dough with Ube Extract
Too much extract can result in an artificial taste. Start small and increase gradually. - Not Adjusting for Hydration
Adding too much ube extract without reducing other liquids can make your dough sticky and hard to handle. - Uneven Mixing
Failing to mix the extract thoroughly can lead to streaky colors and uneven flavor distribution.
Step-by-Step Ube Milk Bread Recipe
Ingredients:
- 3 ½ cups all-purpose flour
- 2 teaspoons instant yeast
- ¼ cup sugar
- 1 teaspoon salt
- 1 cup warm milk
- ¼ cup softened butter
- 1 egg
- 1-2 tablespoons ube extract
Instructions:
- Activate the Yeast: In a bowl, combine warm milk, sugar, and yeast. Let it sit for 5-10 minutes until frothy.
- Combine Dry Ingredients: Mix flour and salt in a large bowl.
- Mix Wet Ingredients: In another bowl, whisk the egg, butter, and ube extract into the milk mixture.
- Combine and Knead: Gradually add wet ingredients to the dry ingredients, kneading until smooth and elastic (8-10 minutes).
- First Rise: Place the dough in an oiled bowl, cover, and let rise for 1-2 hours.
- Shape and Proof: Shape the dough into a loaf or rolls, place in a greased pan, and let proof until doubled in size (about 45 minutes).
- Bake: Bake at 350°F (175°C) for 25-30 minutes or until the internal temperature reaches 190°F.
Diving Deeper Into Ube Milk Bread Customizations and Techniques
Now that you know the basics of adding ube extract to your milk bread recipe, let’s delve into advanced customizations, troubleshooting, and creative ways to elevate your bread. Whether you’re a seasoned baker or a beginner experimenting with new flavors, these tips and techniques will ensure your bread stands out.

How to Perfect the Dough Texture
The texture of milk bread stands out for its soft, cloud-like quality, making it a favorite among bread lovers. When you add ube extract, you don’t have to compromise this signature trait. To keep your bread’s texture perfect, follow these practical tips. Additionally, by making slight adjustments and paying attention to key steps, you’ll ensure that the addition of ube extract enhances rather than detracts from the bread’s renowned softness:
1. Achieve Proper Gluten Development
Milk bread requires a well-developed gluten structure for its soft and elastic crumb. Here’s how to do it right:
- Knead Properly: Hand-knead the dough for at least 8-10 minutes, or use a stand mixer for 5-7 minutes.
- Windowpane Test: Stretch a small piece of dough between your fingers. It should form a thin, translucent “window” without tearing.
2. Control Dough Hydration
The key to balancing the dough’s hydration is understanding how ube extract affects moisture:
- Start with slightly less liquid than the recipe calls for, then gradually add more as needed.
- If the dough is sticky, dust your hands and the surface lightly with flour, but avoid adding too much.
Creative Twists on Ube Milk Bread

Once you’ve mastered the basics, try experimenting with these exciting variations to take your ube milk bread to the next level:
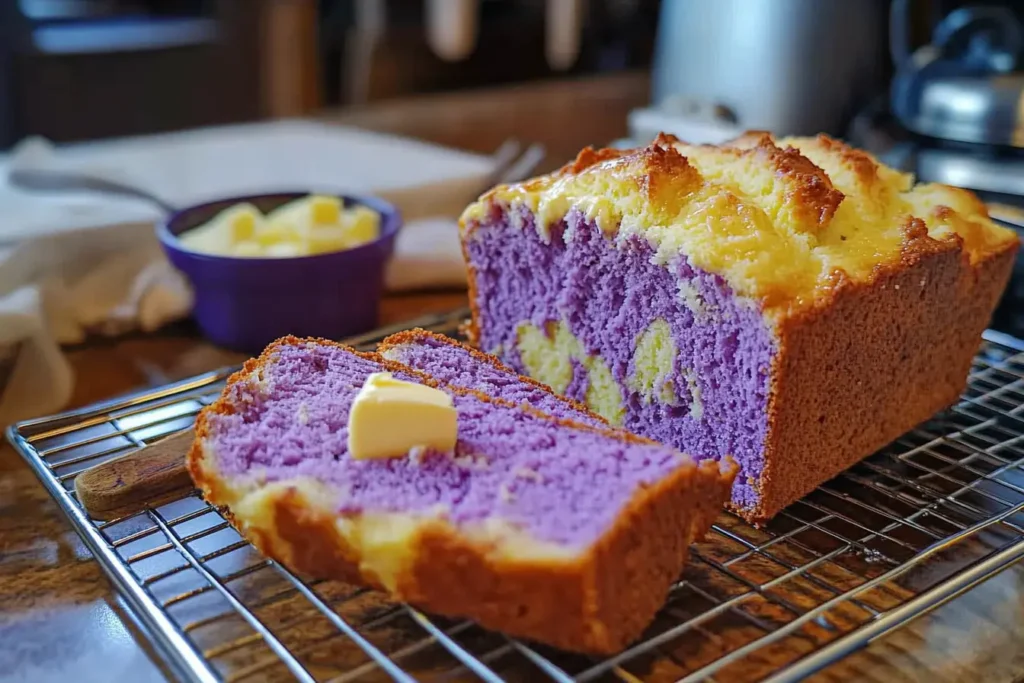
1. Swirled Ube Milk Bread
For a marbled effect, divide your dough into two portions:
- Add ube extract to one portion.
- Roll out both doughs into rectangles, layer them, and roll into a log before proofing and baking.
2. Filled Ube Milk Bread
Add a decadent filling to your bread for a surprise burst of flavor:
- Sweet Options: Ube halaya (ube jam), custard, or dulce de leche.
- Savory Options: Cream cheese or salted egg yolks.
3. Ube Pandesal Hybrid
Combine ube milk bread dough with a pandesal coating:
- Roll small portions of the dough into balls.
- Coat them with breadcrumbs before proofing and baking for a crispy exterior and fluffy interior.
Troubleshooting Common Issues
Despite following the recipe, you might encounter a few challenges. Here’s how to solve them:
1. Dough Too Sticky
Sticky dough can be frustrating, especially when working with additional liquids like ube extract. To fix this:
- Gradually add flour, one tablespoon at a time, until the dough is manageable.
2. Bread is Dense
Dense bread usually results from under-proofing or insufficient kneading. To prevent this:
- Allow the dough to proof in a warm, draft-free area until it has doubled in size.
- Ensure the yeast is fresh and active by testing it in warm water before adding it to the dough.
3. Uneven Coloring
If the purple hue isn’t consistent, the extract might not have been mixed well. Always:
- Add the ube extract early in the mixing process.
- Use a stand mixer to ensure even incorporation.
Serving Suggestions for Ube Milk Bread
The subtle sweetness of ube milk bread adds to its incredible versatility, allowing it to complement a wide range of dishes and occasions. Additionally, its vibrant color and unique flavor make it a standout choice for various meals and snacks. To help you enjoy your loaf to the fullest, here are some creative serving ideas:
1. Breakfast Toast
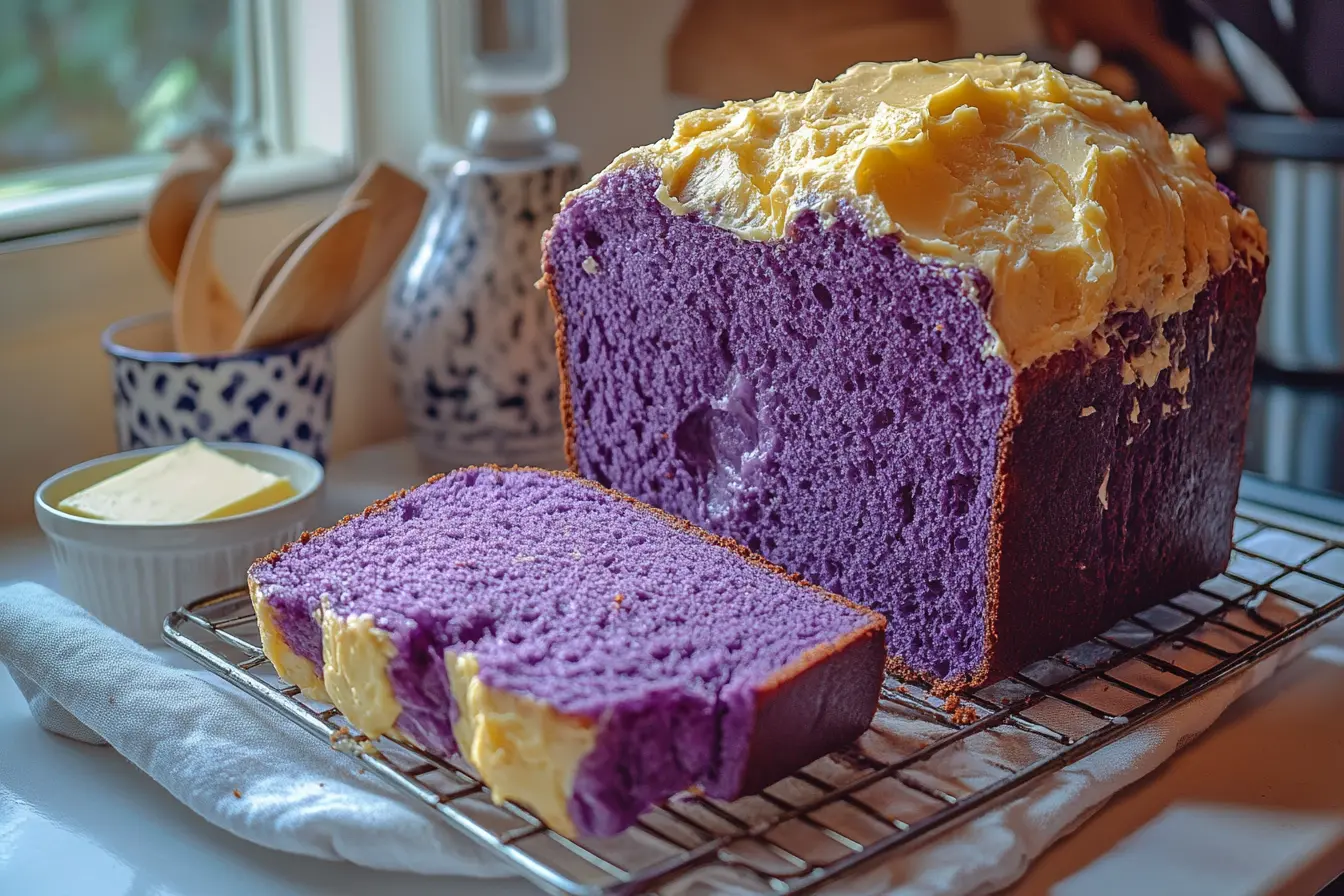
- Spread with butter, jam, or cream cheese for a simple, flavorful start to your day.
2. Sandwich Base
- Use slices to create sweet or savory sandwiches. For example:
- Sweet: Peanut butter and banana.
- Savory: Ham, egg, and cheese.
3. Dessert Base
- Turn slices into French toast, bread pudding, or trifle layers for a show-stopping dessert.
Advanced Flavor Pairings
While ube’s nutty sweetness is delicious on its own, pairing it with complementary flavors can enhance the overall experience. Here are some pairings to consider:
1. Tropical Fruits
- Mango, coconut, and pineapple all bring out the best in ube’s flavor profile.
2. Spices
- A hint of cinnamon or nutmeg adds warmth and complexity to your bread.
3. Nuts and Seeds
- Toasted sesame seeds, almonds, or macadamia nuts provide a crunchy contrast.
Scaling the Recipe for Larger Batches
If you’re baking for a crowd or want to make multiple loaves, scaling up the recipe requires careful adjustments:
- Increase Ingredients Proportionally: Double or triple each ingredient, including the ube extract.
- Use a Larger Mixing Bowl: Ensure there’s enough room for the dough to expand during mixing and proofing.
- Adjust Baking Time: Larger loaves or multiple pans may require slightly longer baking times. Monitor the bread closely to avoid overbaking.
Tips for Storing and Freezing
Proper storage ensures your ube milk bread stays fresh and delicious for longer.
Short-Term Storage
- Wrap the bread in plastic wrap or place it in an airtight container.
- Store at room temperature for up to 3 days.
Freezing
- Slice the bread and wrap each slice individually in plastic wrap.
- Place the slices in a freezer-safe bag or container.
- Freeze for up to 3 months. Thaw slices at room temperature or toast them directly from frozen.

