Introduction
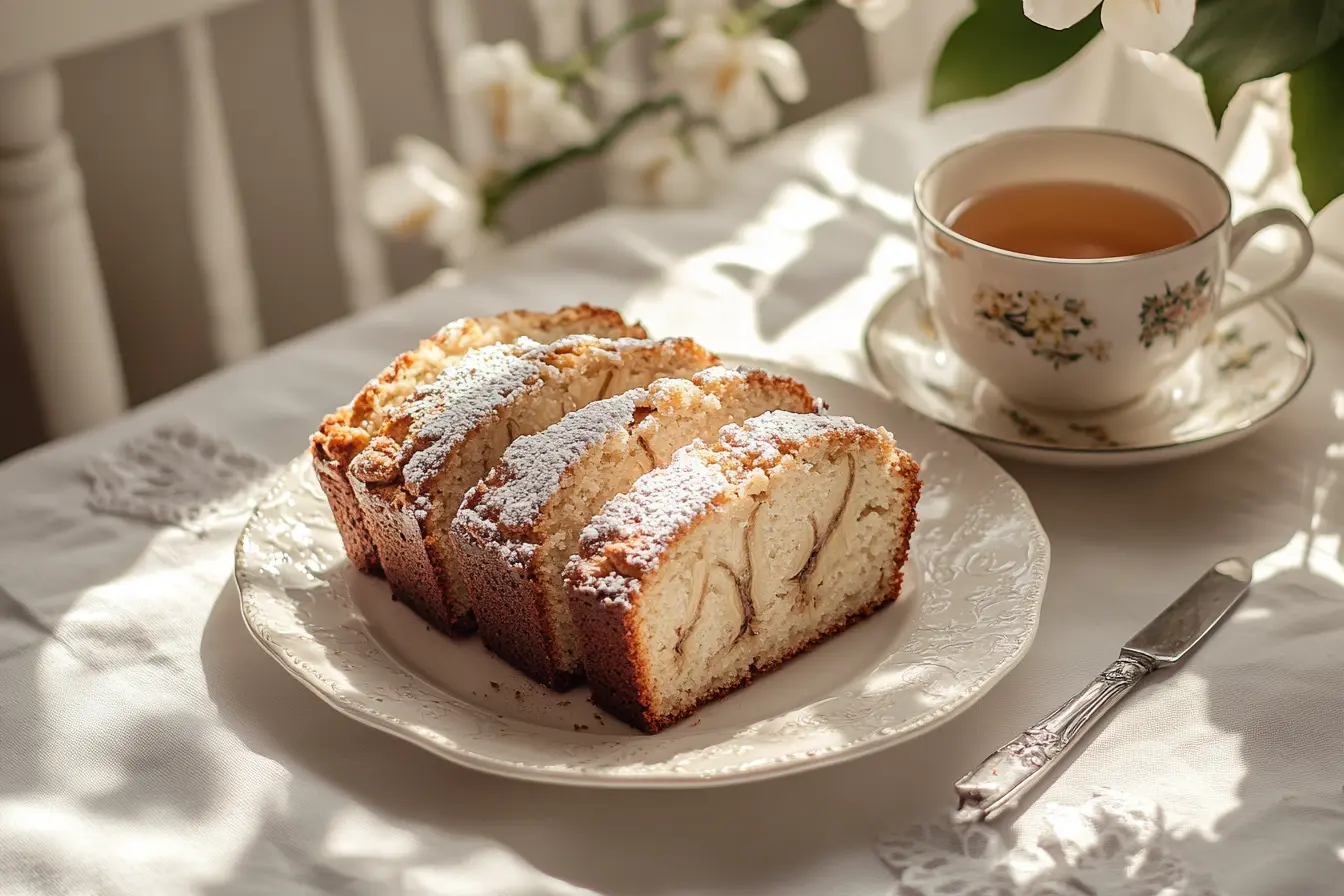
Banana bread recipe no butter offers a unique twist to traditional baking. With the removal of butter, this recipe relies on healthier alternatives to create a moist, flavorful loaf that everyone can enjoy. Whether you’re looking to cut down on saturated fats, experiment with oil-based baking, or simply enjoy a delicious treat, this guide has everything you need. From understanding the ingredients’ roles to mastering the step-by-step process, you’ll discover that butter-free banana bread can be just as satisfying. Let’s jump in!
Understanding Banana Bread Without Butter
Discovering the Delight of Banana Bread Without Butter
Banana bread has become a household favorite over the years, but many recipes lean heavily on butter to achieve their rich flavor and texture. For those avoiding dairy or wanting a healthier alternative, butter-free banana bread is the perfect solution. Surprisingly, removing butter doesn’t mean sacrificing taste or texture—if anything, it opens doors to experimenting with ingredients that can make your bread even better.
The Rise of Butter-Free Banana Bread
Why has banana bread without butter gained popularity? Well, one reason is its appeal to individuals seeking dairy-free or vegan options. Another is its ability to provide a lighter, less greasy loaf while still retaining that moistness we all love. Plus, using alternatives like vegetable oil or coconut oil gives you the flexibility to tailor the bread to your taste and dietary preferences.
Health Benefits of a No-Butter Banana Bread
Swapping butter for oils or other substitutes can reduce saturated fat content, making this treat a healthier indulgence. Additionally, ingredients like olive oil or applesauce can introduce beneficial nutrients, such as antioxidants and fiber. Imagine satisfying your sweet tooth while also making a smarter choice for your heart and overall wellness!
Common Misconceptions About Baking Without Butter
Some people think that butter-free banana bread might lack flavor, but that couldn’t be further from the truth. The sweetness of ripe bananas and the depth provided by natural oils can often surpass the richness of butter. Another common myth? That it’s harder to bake. On the contrary, butter-free recipes are usually quicker and simpler, as you skip the process of creaming butter and sugar.
Ingredients and Step-by-Step Guide
Essential Ingredients for Banana Bread Without Butter
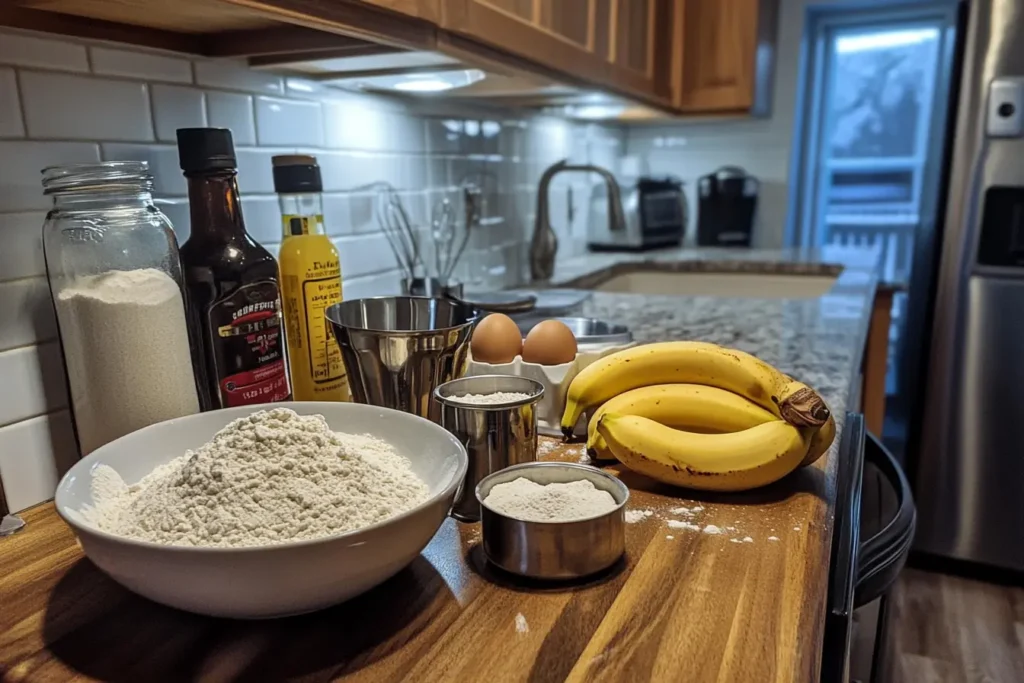
To bake a flavorful butter-free banana bread, you’ll need the following simple yet effective ingredients. Each element contributes uniquely to the texture, flavor, and overall appeal of the loaf.
Ingredients:
- 3 ripe bananas (mashed)
- 2 large eggs (or flaxseed meal for a vegan option)
- ½ cup vegetable oil (or melted coconut oil)
- 1 cup granulated sugar (or a sweetener alternative like honey)
- 1 ½ cups all-purpose flour (or whole wheat flour)
- 1 teaspoon baking soda
- 1 teaspoon baking powder
- ½ teaspoon salt
- 1 teaspoon vanilla extract
- ½ teaspoon cinnamon (optional, for added warmth)
- ½ cup chopped walnuts or chocolate chips (optional, for extra texture)
Step-by-Step Cooking Instructions
1. Preheat the oven:
Set your oven to 350°F (175°C). Grease a 9×5-inch loaf pan with oil or line it with parchment paper for easy removal.
2. Mash the bananas:
In a large bowl, mash the ripe bananas using a fork or potato masher until smooth. Leave a few small lumps if you prefer a rustic texture.
3. Combine wet ingredients:
Add the eggs, vegetable oil, vanilla extract, and sugar to the mashed bananas. Whisk the mixture until well combined and slightly frothy.
4. Mix dry ingredients:
In a separate bowl, sift together the flour, baking soda, baking powder, salt, and cinnamon. This ensures even distribution and prevents lumps in the batter.
5. Incorporate the dry into the wet:
Gradually add the dry ingredients to the wet mixture, folding gently with a spatula. Be careful not to overmix—this can result in a dense loaf.
6. Add optional extras:
If using walnuts, chocolate chips, or raisins, fold them into the batter at this stage for bursts of flavor in every bite.
7. Transfer to the loaf pan:
Pour the batter into the prepared loaf pan, spreading it evenly. Tap the pan on the counter lightly to remove air bubbles.
8. Bake to perfection:
Place the loaf pan in the center of the preheated oven and bake for 50–60 minutes. Check for doneness by inserting a toothpick into the center; it should come out clean.
9. Cool and enjoy:
Let the bread cool in the pan for 10 minutes before transferring it to a wire rack. Allow it to cool completely before slicing to maintain structure.
Nutritional Content (Per 100g)
| Nutrient | Amount | % Daily Value |
|---|---|---|
| Calories | 250 kcal | 12.5% |
| Total Fat | 10g | 15% |
| Saturated Fat | 3g | 15% |
| Carbohydrates | 35g | 12% |
| Sugars | 18g | 20% |
| Protein | 4g | 8% |
| Fiber | 2g | 8% |
| Sodium | 150mg | 6% |
Variations and Enhancements
Flavorful Additions to Your Banana Bread
Banana bread is incredibly versatile, making it a blank canvas for adding delightful twists. These flavorful additions can transform your butter-free banana bread into a personalized masterpiece.
Incorporating Nuts and Seeds
Adding nuts like walnuts, pecans, or almonds introduces a crunchy texture that complements the softness of the bread. Seeds like chia, flaxseed, or sunflower seeds are excellent for adding a healthful boost. For a nuttier flavor, lightly toast them before mixing.
Adding Fruits for Extra Moisture
Fruits like blueberries, chopped apples, or shredded coconut enhance moisture and lend bursts of sweetness. Dried fruits such as cranberries or raisins also work well, providing chewy, sugary bites.
Spices to Elevate the Taste
Spices like cinnamon, nutmeg, or cardamom can add a warm, aromatic layer to your bread. A teaspoon of each or a pinch to taste is enough to create a comforting flavor profile.
Making It Healthier: Substitutions and Tips
Looking for ways to make your banana bread even better for you? Here are some easy substitutions that pack in nutrition without compromising on flavor.
Gluten-Free Options
For a gluten-free alternative, swap all-purpose flour with almond flour, coconut flour, or a pre-mixed gluten-free baking blend. To maintain a good texture, combine flours like almond and rice flour for a balanced outcome.
Reducing Sugar Content
Cutting back on sugar is simple—reduce the quantity by a third, or replace granulated sugar with natural alternatives like honey, maple syrup, or date paste. These substitutes not only add sweetness but also enrich the flavor.
Creative Enhancements
If you’re feeling adventurous, here are some more ideas to make your loaf stand out:
- Chocolate Lovers’ Delight: Add dark chocolate chunks for gooey pockets of chocolate.
- Tropical Twist: Blend in pineapple chunks or mango for a Caribbean-inspired loaf.
- Zesty Kick: Grate orange or lemon zest into the batter for a bright, tangy note.
Step-by-Step Baking Guide
Preparing Your Kitchen for Baking
Before diving into the baking process, it’s crucial to set up your kitchen for efficiency and success. Preheat your oven to 350°F (175°C) and ensure all your ingredients are measured and ready. This “mise en place” approach helps you avoid last-minute scrambles.
Essential Tools You’ll Need:
- A 9×5-inch loaf pan
- Mixing bowls (one large, one medium)
- Measuring cups and spoons
- A whisk, spatula, and fork
- Cooling rack
- Parchment paper or oil for greasing
Mixing the Batter: Techniques for Success
A properly mixed batter is the foundation of moist, fluffy butter-free banana bread. Follow these steps closely for consistent results:
- Mash the Bananas
Use a fork or potato masher to break down the bananas until smooth. The natural sugars in ripe bananas help sweeten the bread. - Combine Wet Ingredients
In a large bowl, whisk together mashed bananas, eggs, vegetable oil, vanilla extract, and sugar. Mix until the ingredients are well incorporated and slightly frothy. - Mix Dry Ingredients Separately
In a medium bowl, sift together the flour, baking soda, baking powder, salt, and any optional spices. Sifting ensures an even texture and prevents clumps. - Fold Dry Into Wet
Slowly add the dry ingredients to the wet mixture, folding gently with a spatula. Overmixing can lead to dense bread, so stop as soon as you see no streaks of flour. - Incorporate Extras
Fold in any optional add-ins, like nuts or chocolate chips, at this stage. This ensures even distribution without overworking the batter.
Baking Time and Temperature: Getting It Just Right
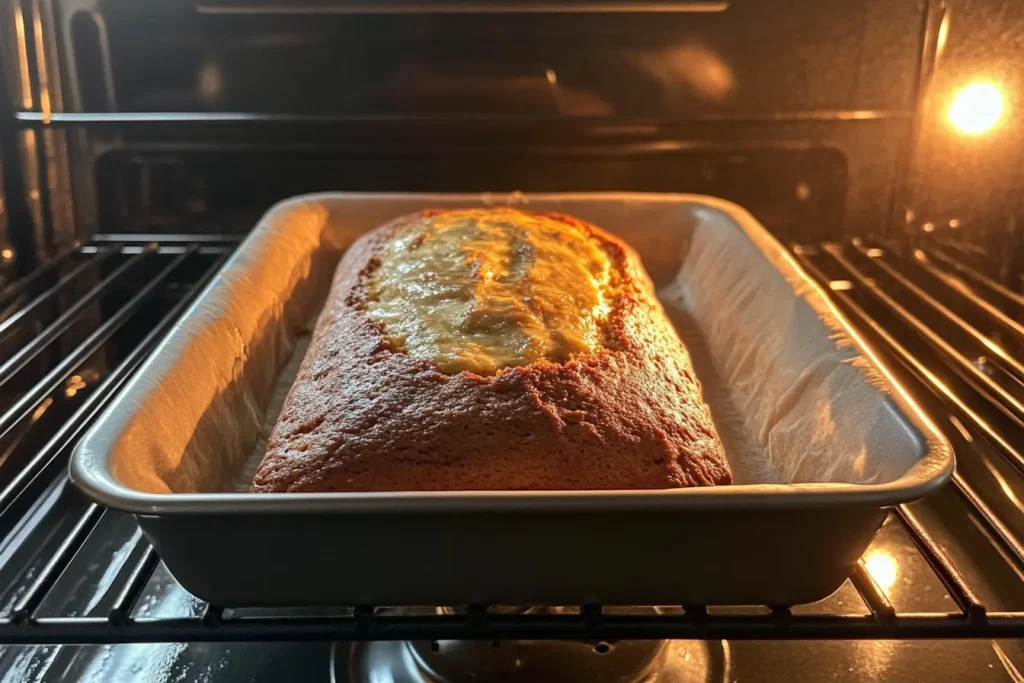
Even baking is key to the perfect loaf. Pour the batter into your prepared loaf pan, spreading it evenly. Bake on the center rack for 50–60 minutes. Halfway through, rotate the pan to promote uniform browning.
Tip: Check doneness with a toothpick inserted into the center. If it comes out clean, your bread is ready!
Cooling and Storing Your Banana Bread
Once baked, let the bread rest in the pan for about 10 minutes. Carefully transfer it to a wire rack to cool completely. Cooling is essential to prevent the bread from crumbling when sliced.
Storage Options:
- Room Temperature: Store in an airtight container for up to 3 days.
- Refrigerator: Wrap in plastic and refrigerate for up to a week.
- Freezing: Wrap slices individually in foil or plastic wrap and place them in a freezer bag for up to 3 months. Thaw at room temperature when ready to enjoy.
In the following segment, we’ll delve into pairing options and creative ways to serve your banana bread for maximum enjoyment.
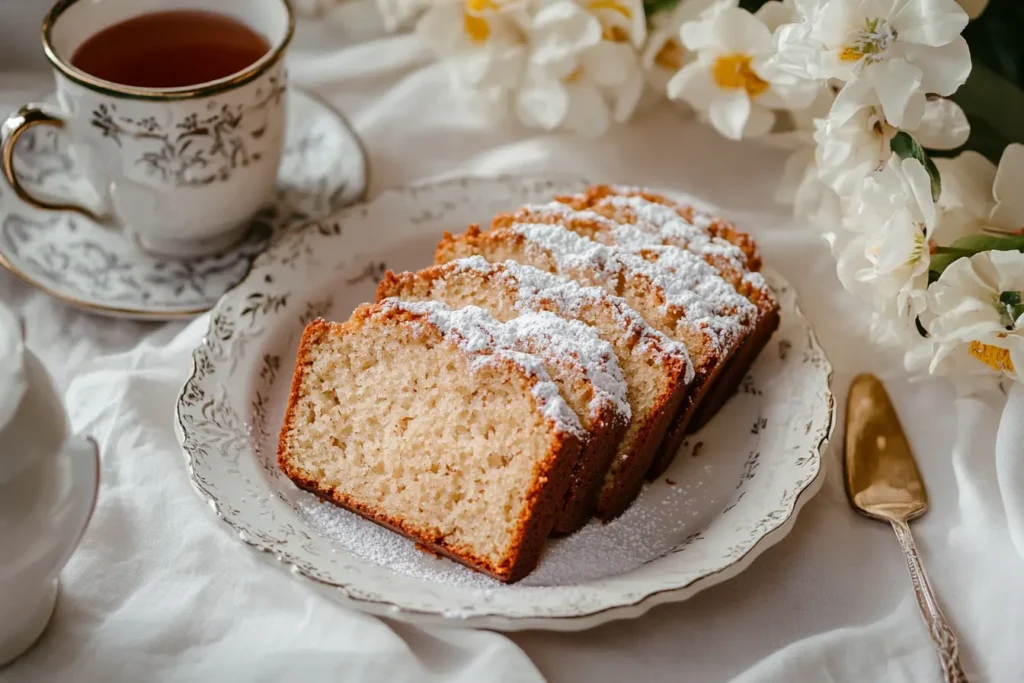
Serving Suggestions
Pairing Your Banana Bread with Beverages
Pairing your butter-free banana bread with the right beverage can elevate your experience. The moist, sweet, and subtly spiced flavors work beautifully with a variety of drinks:
- Coffee or Espresso: The rich bitterness balances the bread’s natural sweetness.
- Herbal Tea: Chamomile, ginger, or cinnamon tea enhance the warming spices.
- Milk (or Dairy-Free Alternatives): Almond or oat milk complements the bread’s nutty undertones.
- Freshly Squeezed Juice: Orange or apple juice adds a refreshing contrast.
Creative Ways to Serve Banana Bread
Why settle for plain slices when you can transform your banana bread recipe no butter into something extraordinary? Here are some ideas:
- Toast It: Lightly toast slices and spread with almond butter or honey for a satisfying snack.
- Make It a Dessert: Serve a slice with a dollop of whipped cream and a drizzle of chocolate syrup.
- Layer It: Use banana bread as a base for trifle by layering it with custard and fresh fruits.
- Mini Sandwiches: Spread cream cheese between two thin slices for a unique treat.
FAQs
Does Oat Flour Rise with Yeast?
Oat flour doesn’t contain gluten, which is essential for yeast-based bread to rise properly. Gluten provides the structure that traps air bubbles created by yeast. However, you can combine oat flour with a gluten-containing flour (like wheat flour) to achieve a rise. Alternatively, you can use binding agents like xanthan gum or psyllium husk in gluten-free baking to mimic the effects of gluten.
Is Lentil Bread High in Carbs?
Lentil bread tends to be lower in carbs compared to traditional wheat bread, making it a great option for those following low-carb diets. Lentils are a good source of protein and fiber, which helps reduce the net carb count. However, the exact carb content will depend on the recipe and other added ingredients.
What Is the Best Way to Cook Diced Chicken?
The best way to cook diced chicken is by pan-searing it. Here’s how:
- Heat a skillet over medium-high heat and add a tablespoon of oil.
- Season the diced chicken with salt, pepper, and your favorite spices.
- Place the chicken in the skillet in a single layer to avoid overcrowding.
- Cook for 5–7 minutes, stirring occasionally, until the pieces are golden brown and reach an internal temperature of 165°F (74°C).
For added flavor, deglaze the pan with broth or a splash of lemon juice after cooking.
Is Diced Chicken Healthy?
Yes, diced chicken is a healthy choice. It is high in protein, low in fat (especially if using breast meat), and versatile for a range of dishes. Chicken is rich in essential nutrients like vitamin B6, niacin, and selenium, which support metabolism and immune function. Opt for lean cuts and avoid heavy sauces to keep it healthy.
How to Mash Raw Chicken?
To mash raw chicken, follow these steps:
- Cut the chicken into small pieces.
- Place the pieces in a food processor or blender.
- Pulse until the chicken reaches a mashed consistency. Avoid overprocessing to prevent the chicken from becoming paste-like.
- Use immediately or store in the refrigerator for up to 24 hours.
Mashed chicken is commonly used for meatballs, dumplings, or patties.
How to Cook Chicken Like a Chef?
Cooking chicken like a chef involves mastering basic techniques:
- Choose Quality Cuts: Use fresh, high-quality chicken for the best flavor.
- Season Generously: Season with salt, pepper, herbs, and spices to enhance flavor.
- Use Proper Cooking Methods: For tender chicken, use methods like sous vide, pan-searing, or roasting. Cook to an internal temperature of 165°F (74°C).
- Rest the Meat: After cooking, let the chicken rest for a few minutes to allow the juices to redistribute.
- Add Finishing Touches: A drizzle of pan sauce, fresh herbs, or a squeeze of lemon juice can elevate your dish.
With practice and attention to detail, you can turn simple chicken dishes into gourmet meals!

