Thin chicken breasts are a staple for quick and healthy meals, but cooking them perfectly can sometimes feel like a juggling act. Whether you’re baking, frying, or grilling, getting the timing and technique just right ensures tender, juicy results every time. In this guide, we’ll explore how to prepare and cook thin chicken breasts flawlessly, avoiding common pitfalls while unlocking bold flavors.
Let’s dive into the details, starting with preparation essentials.
Introduction to Cooking Thin Chicken Breasts
Importance of Proper Cooking Techniques
Thin chicken breasts may look easy to handle, but their delicate nature makes them prone to overcooking. Without the right approach, they can quickly turn from juicy to dry. Understanding the importance of precision while cooking ensures a perfectly cooked meal that’s flavorful and safe to eat.
Cooking thin chicken breast is not just about the heat but also about the method. Baking at the correct temperature, pan-frying with enough oil, or grilling over consistent heat can drastically improve the taste and texture. Each technique has unique benefits, but they all share one goal: tender, evenly cooked chicken that melts in your mouth.
Common Mistakes to Avoid
Mistakes are common in the kitchen, but many are avoidable with a little know-how. Here are some pitfalls to steer clear of when cooking thin chicken breasts:
- Overcooking: This is the most frequent issue. Thin chicken cooks faster than thicker cuts, and exceeding the proper time leads to dryness.
- Skipping the Thermometer: Relying on a meat thermometer ensures your chicken reaches the safe internal temperature of 165°F, as recommended by the USDA Guidelines on Safe Minimum Internal Temperatures.
- Improper Slicing: Uneven slicing can result in some parts being overcooked while others remain undercooked.
- Insufficient Seasoning: Thin chicken breasts absorb marinades and seasonings quickly, so under-seasoning leads to bland results.
Proper techniques paired with the avoidance of these errors set the foundation for success. In the subsequent chapter, we’ll delve deeper into the preparation steps that can make or break your dish.
Preparation Steps
Cooking thin chicken breasts to perfection starts with the right preparation. From selecting the best-quality chicken to properly slicing and marinating it, these steps lay the groundwork for a meal that’s flavorful and satisfying.
Selecting Quality Chicken Breasts
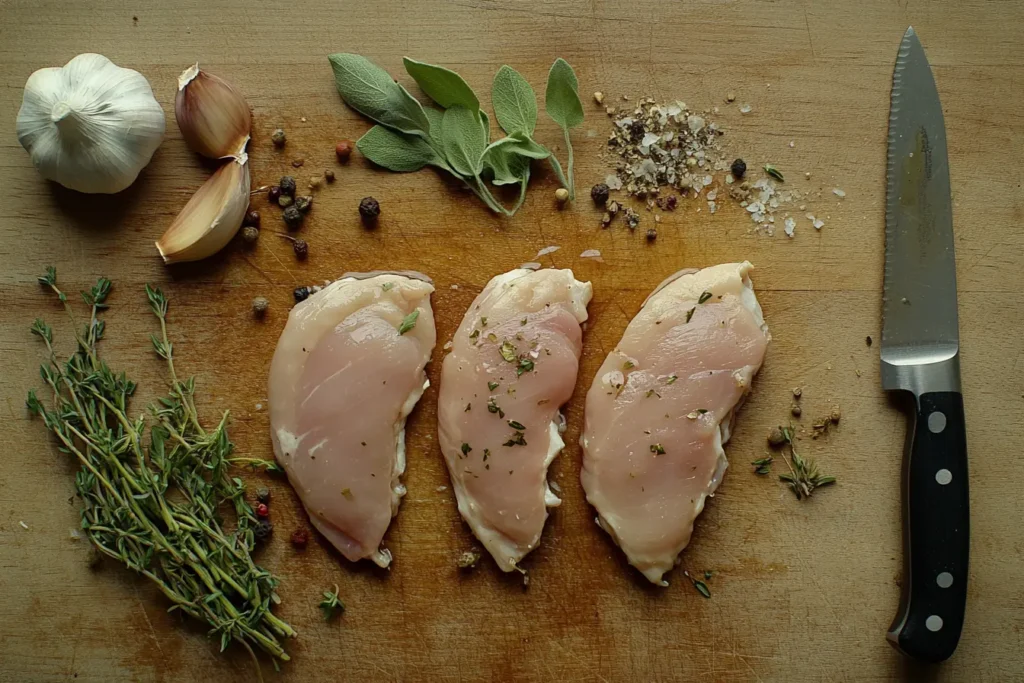
Always choose fresh or properly frozen chicken for the best results. Opt for skinless, boneless thin breasts with an even thickness for uniform cooking. Look for these indicators of quality:
- Fresh Color: Pale pink meat without gray or greenish tints.
- No Excess Liquid: Avoid packages with too much moisture or liquid.
- Trusted Source: Purchase from a reputable supplier or butcher.
How to Slice Chicken Breasts Thinly
If your chicken breasts aren’t pre-sliced thinly, you can easily prepare them at home. Here’s how:
- Chill the Chicken: Partially freeze the chicken for 30–45 minutes to make it firm and easier to slice.
- Use a Sharp Knife: A sharp chef’s knife ensures clean, precise cuts.
- Slice Against the Grain: This helps keep the meat tender. Slice the chicken horizontally into even fillets about ¼ inch thick.

Marinating for Flavor and Tenderness
Marinating enhances the flavor and tenderness of thin chicken breasts. Use the following marinade for delicious results:
Ingredients for the Marinade
- 3 tablespoons olive oil
- Juice of 1 lemon
- 2 cloves garlic, minced
- 1 teaspoon paprika
- ½ teaspoon black pepper
- 1 teaspoon dried oregano or thyme
- 1 teaspoon salt
Instructions for Marinating
- Combine all marinade ingredients in a bowl or resealable plastic bag.
- Add the sliced chicken breasts, ensuring they are fully coated.
- Refrigerate for 30 minutes to 2 hours (but not longer than 24 hours).
Recipe: Step-by-Step Cooking Instructions
Now, let’s cook those perfectly prepped thin chicken breasts. Below is a recipe for pan-frying, but you can adapt it for baking or grilling by following the timing guidelines shared later in this guide.
Ingredients
- 2 thinly sliced chicken breasts (approx. 300g total)
- 2 tablespoons olive oil (or any neutral cooking oil)
- Salt and pepper to taste
- Optional garnish: fresh parsley or lemon wedges
Instructions
- Preheat the Pan: Place a large skillet over medium-high heat and add olive oil. Heat until shimmering but not smoking.
- Season the Chicken: While the pan is heating, pat the chicken dry with paper towels and season both sides with salt and pepper.
- Cook the Chicken: Place the chicken breasts in the skillet, ensuring they aren’t overcrowded. Sear for 2–3 minutes per side or until golden brown.
- Check for Doneness: Use a meat thermometer to confirm the internal temperature has reached 165°F.
- Rest the Chicken: Remove from heat and let the chicken rest for 5 minutes to allow the juices to redistribute.
- Serve and Enjoy: Garnish with parsley or lemon wedges for added flavor.

Nutritional Content (per 100g)
Below is the nutritional breakdown of cooked thin chicken breasts.
| Nutrient | Amount |
|---|---|
| Calories | 165 kcal |
| Protein | 31 g |
| Total Fat | 3.6 g |
| Saturated Fat | 1 g |
| Carbohydrates | 0 g |
| Cholesterol | 85 mg |
| Sodium | 74 mg |
In the next division, we’ll explore specific cooking methods for thin chicken breasts, including baking, frying, and grilling tips for optimal results.
Cooking Methods and Times
Thin chicken breasts are versatile and can be cooked using various methods, each offering unique flavors and textures. Whether you prefer the crispiness of pan-frying, the tenderness of baking, or the smoky notes of grilling, this section will guide you step-by-step through each technique.
Baking Thin Chicken Breasts
Optimal Oven Temperatures
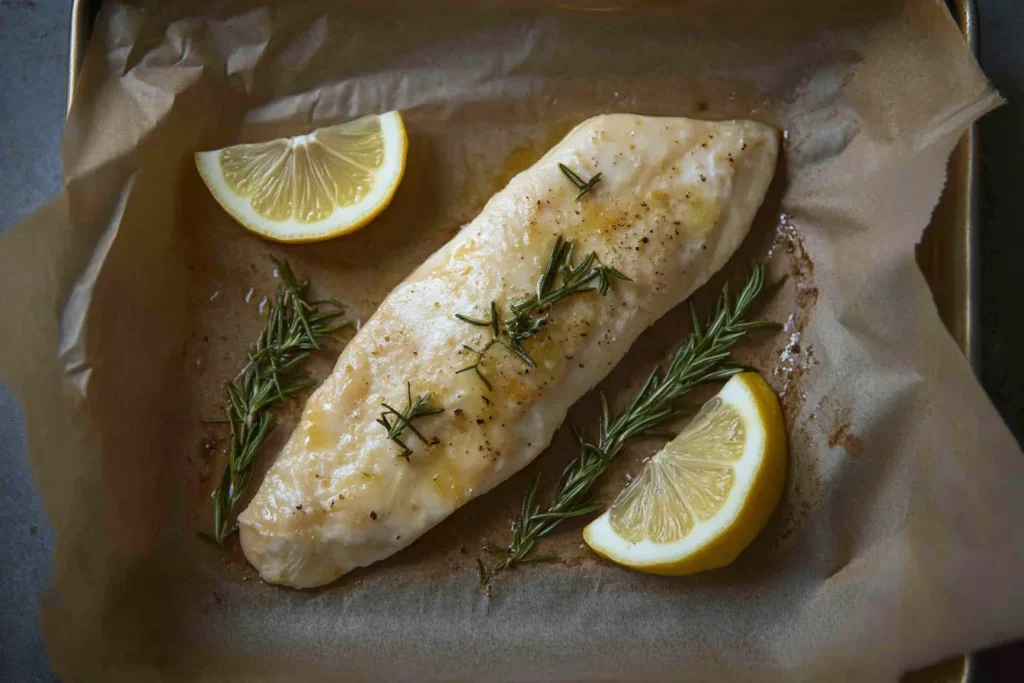
Baking is a hands-off method that’s ideal for achieving juicy chicken. Preheat your oven to 375°F (190°C) for the best results. This temperature allows the chicken to cook evenly without drying out.
Recommended Baking Times
- Preheat the oven to 375°F.
- Lightly grease a baking dish or line it with parchment paper.
- Place the marinated or seasoned chicken breasts in a single layer in the dish.
- Bake for 15–20 minutes, depending on thickness.
- Check for doneness using a meat thermometer; it should register at 165°F.
- Let the chicken rest for 5 minutes before serving.
Pan-Frying Techniques
Choosing the Right Pan
A non-stick or stainless-steel skillet works best for pan-frying. Make sure the pan is large enough to avoid overcrowding, allowing the chicken to sear properly.
Cooking Times and Tips
- Heat 2 tablespoons of oil in a skillet over medium-high heat until shimmering.
- Place seasoned chicken breasts in the pan. Avoid moving them around for the first 2 minutes to achieve a golden-brown crust.
- Cook each side for 2–3 minutes, depending on thickness. Adjust heat as needed to avoid burning.
- Check the internal temperature to ensure it reaches 165°F.
- Remove from heat and let the chicken rest before slicing.
Grilling Thin Chicken Breasts
Preparing the Grill
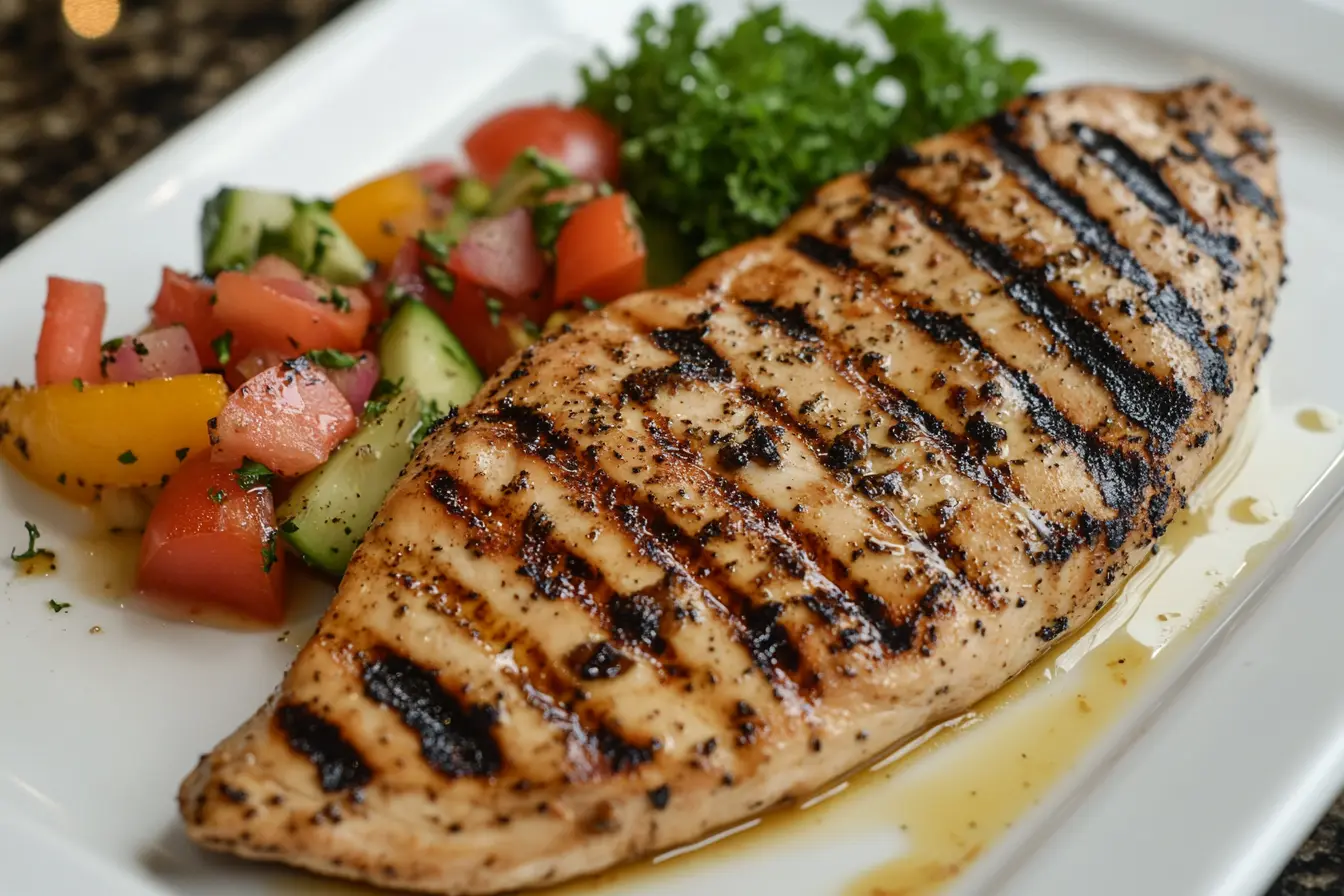
Grilling imparts a delicious smoky flavor to chicken breasts. Preheat your grill to medium-high heat and oil the grates to prevent sticking.
Grilling Times and Safety
- Place the chicken breasts directly over the heat source.
- Grill for 3–4 minutes on each side, closing the lid in between for even cooking.
- Use a meat thermometer to check the temperature, ensuring it’s 165°F.
- Let the chicken rest for a few minutes before serving.
Moving forward to the next topic, we’ll discuss how to ensure the safety and quality of your cooked chicken breasts, including tips on checking for doneness and serving.
Ensuring Safety and Quality
Cooking thin chicken breasts isn’t just about achieving great flavor; it’s equally important to ensure they are cooked safely. Undercooked chicken can pose health risks, while overcooked chicken can ruin the dining experience. This section focuses on techniques to check for doneness, rest the meat, and present it beautifully.
Checking for Doneness
Using a Meat Thermometer
A meat thermometer is the most reliable tool for ensuring chicken is safely cooked. Follow these steps for accuracy:
- Insert the thermometer into the thickest part of the chicken breast.
- Ensure it doesn’t touch the pan or bones (if applicable).
- Check that the internal temperature reads 165°F. This is the USDA-recommended safe minimum temperature for chicken.
Using a thermometer eliminates guesswork and ensures the chicken is safe to eat without being overcooked.
Visual Indicators of Doneness
If you don’t have a thermometer, look for these signs:
- Color: The meat should be white throughout with no pink areas.
- Juices: When pierced, the juices should run clear, not pink or red.
- Texture: Properly cooked chicken should feel firm but not rubbery when pressed.
Resting and Serving
Importance of Resting Meat
Resting cooked chicken is a step that many overlook, but it’s crucial for maintaining juiciness. When chicken rests, the juices redistribute throughout the meat, resulting in a more flavorful bite. Allow the chicken to rest for at least 5 minutes after cooking.
Serving Suggestions
Thin chicken breasts pair beautifully with a variety of sides and garnishes. Consider these ideas:
- Slice the chicken into strips and serve over a fresh salad.
- Pair with roasted vegetables and a drizzle of olive oil for a healthy meal.
- Serve with rice or pasta, topped with a light lemon-butter sauce.
By prioritizing safety and presentation, you can elevate your thin chicken breast dishes to a new level of excellence. Transitioning to the subsequent portion, we’ll tackle frequently asked questions about cooking thin chicken breasts.
Frequently Asked Questions
To address common concerns and ensure your success in cooking thin chicken breasts, we’ve compiled answers to some of the most frequently asked questions. Let’s dive right in!
How long to bake thin chicken breasts at 350°F?
Baking thin chicken breasts at 350°F typically takes 20–25 minutes, depending on their thickness. Always check the internal temperature to ensure it reaches 165°F for safe consumption.
Is it better to bake chicken at 350°F or 400°F?
Both temperatures work well, but the choice depends on your desired outcome. Baking at 350°F cooks the chicken more gently, reducing the risk of drying out. At 400°F, the chicken cooks faster and develops a golden exterior, but it requires close monitoring.
How can I prevent thin chicken breasts from drying out?
To avoid dryness:
- Marinate the chicken for added moisture.
- Avoid overcooking by using a thermometer to check for doneness.
- Rest the chicken for 5 minutes post-cooking to lock in juices.
Can I cook thin chicken breasts from frozen?
Yes, but cooking from frozen will require adjustments:
- Increase baking time to 30–35 minutes at 375°F.
- Ensure the chicken reaches an internal temperature of 165°F.
- For better results, thaw the chicken first by refrigerating it overnight.
What are some seasoning ideas for thin chicken breasts?
Seasoning can transform thin chicken breasts into a flavorful dish. Try these combinations:
- Classic: Garlic powder, onion powder, salt, and black pepper.
- Spicy: Chili powder, cayenne pepper, and smoked paprika.
- Herbaceous: Rosemary, thyme, oregano, and lemon zest.
How do I store and reheat leftover cooked chicken?
Store cooked chicken in an airtight container in the refrigerator for up to 3 days. For reheating:
- In the microwave: Heat in 30-second intervals to avoid overcooking.
- On the stove: Warm in a skillet over medium heat with a splash of water or broth to retain moisture.

